A raised garden bed solves problems that in-ground gardening never quite does — better drainage, easier soil control, less bending to tend plants, and a defined edge that keeps grass and weeds from creeping in. Building one from solid raised garden bed plans is also one of the fastest, most beginner-friendly woodworking projects out there, usually finishable in a single afternoon.
This guide covers bed height and depth choices for different crops, wood selection for a structure that will sit in constant contact with soil and moisture, and the construction details that keep beds square and sturdy for years.
Why Raised Beds Outperform In-Ground Gardens
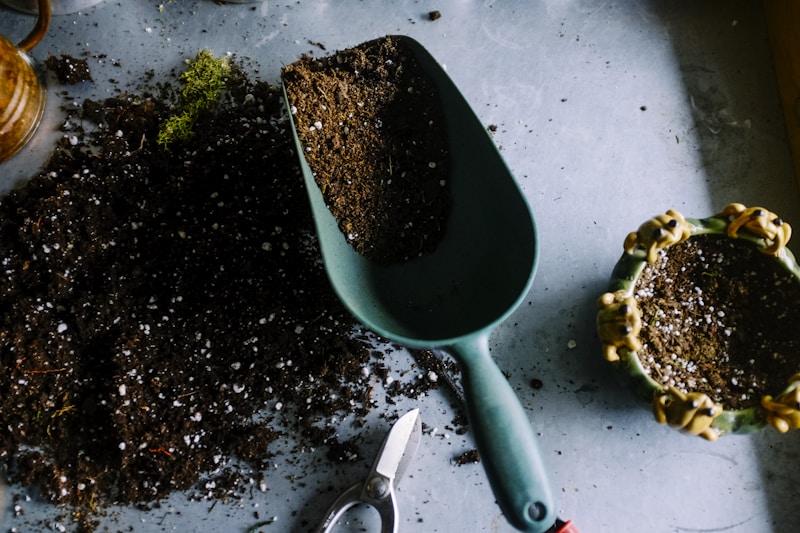
Raised beds let you control the soil completely — no fighting compacted clay or poor native soil, since you’re filling the bed with a custom mix suited to what you’re growing. Drainage improves dramatically since water isn’t pooling in a flat, in-ground plot. The defined height also means less bending and kneeling, which matters more than people expect once a garden season is underway.
Structurally, this is a forgiving project. There’s no need for fine joinery — corner brackets, screws, and straightforward butt joints hold up fine, since the wood isn’t bearing significant structural load, just containing soil.
Bed Styles and Sizing
Standard Single-Layer Bed
Best for: Beginners, shallow-rooted vegetables (lettuce, herbs, peppers)
Build difficulty: Beginner
Materials cost: $30–$70
Build time: 1–3 hours
A simple rectangular frame, typically 10-12 inches deep, made from four boards and corner brackets. The fastest raised bed to build and the best starting point if this is your first outdoor project.
Deep-Root Bed
Best for: Tomatoes, carrots, potatoes, root vegetables
Build difficulty: Beginner
Materials cost: $50–$120
Build time: 2–4 hours
Built 18-24 inches deep, either by stacking two layers of boards or using taller single boards. The extra depth accommodates vegetables with deeper root systems and holds moisture more consistently through hot summer stretches.
Elevated/Table-Height Bed
Best for: Accessibility, reducing kneeling and bending
Build difficulty: Intermediate
Materials cost: $80–$180
Build time: 4–8 hours
Set on a supporting leg frame at roughly waist height, this style eliminates bending almost entirely — a strong option for anyone with mobility concerns or back issues. Requires more structural thinking since the frame now supports both soil weight and its own height, unlike ground-level beds.
Depth Guide by What You’re Growing
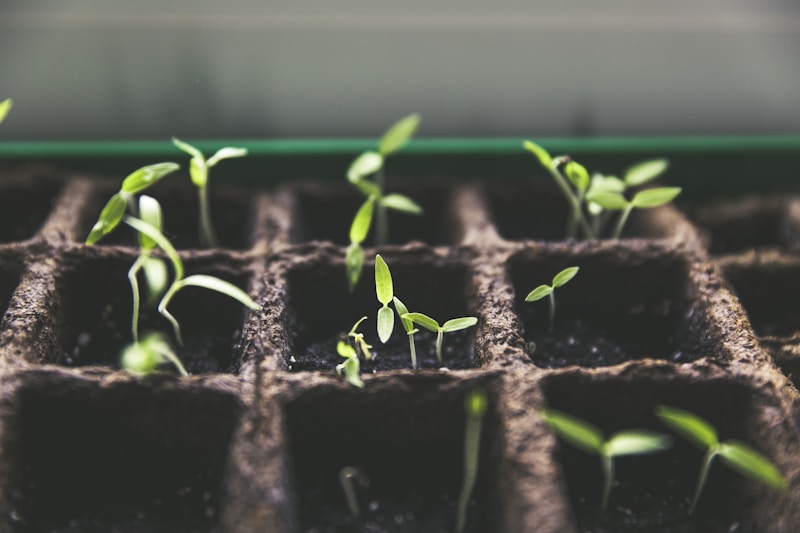
| Plant Type | Minimum Depth | Notes |
|---|---|---|
| Herbs, lettuce, greens | 6–8 inches | Shallow roots, good for a first small bed |
| Peppers, bush beans, onions | 10–12 inches | Standard single-layer depth covers this well |
| Tomatoes, cucumbers, squash | 14–18 inches | Benefits from the deep-root bed style |
| Carrots, potatoes, root vegetables | 18–24 inches | Needs real depth for roots to develop properly |
Wood Choices for Constant Soil Contact
Cedar: The standard choice for raised beds — naturally rot-resistant and safe for food gardens without chemical treatment. Costs more than pine but easily lasts 10+ years in soil contact.
Untreated pine: Budget-friendly but will break down within 3-5 years in constant soil contact. A reasonable choice if you’re comfortable rebuilding periodically, or lining the interior with plastic sheeting to slow decay.
Pressure-treated lumber: Long-lasting, but older formulations contained chemicals unsuitable for food gardens. Modern ACQ-treated lumber is generally considered safe for vegetable beds, though many gardeners still prefer cedar for peace of mind with edible crops.
Composite/recycled plastic boards: Never rots, though more expensive upfront and less traditional in appearance. A strong option if you want a truly maintenance-free bed.
Regional Considerations
- Hot, dry climates (Southwest): Deeper beds retain moisture better through intense summer heat — lean toward the deep-root style even for shallow crops, and consider drip irrigation built into the design.
- Humid regions (Southeast): Cedar is worth the extra cost here — untreated wood breaks down faster in consistent humidity and soil moisture.
- Cold climates (Northeast, Midwest): Elevated beds warm up faster in spring than ground-level beds, letting you start planting earlier in the season.
- Areas with poor native soil (rocky, clay-heavy regions): This is exactly where raised beds provide the most value — full control over soil composition regardless of what’s underneath.
Common Mistakes to Avoid
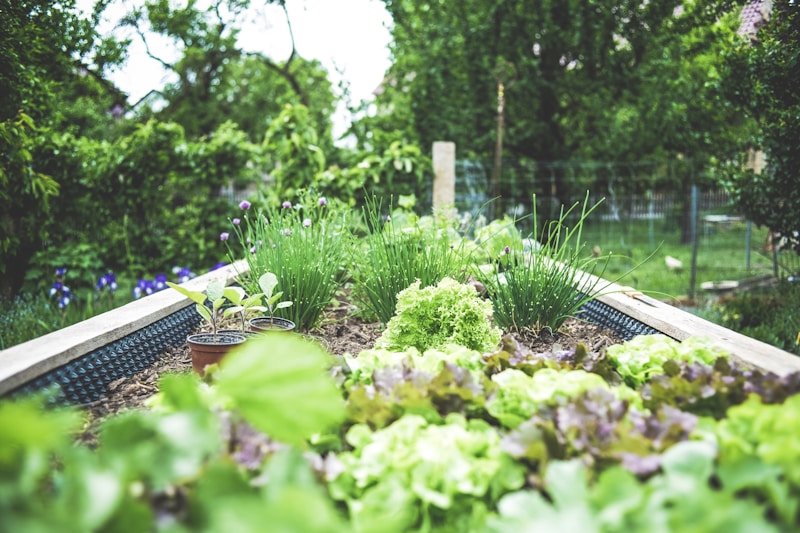
- Building beds too wide: If you can’t comfortably reach the center from either side (typically over 4 feet wide), you’ll end up stepping into the bed, compacting the soil you worked to keep loose.
- Skipping corner reinforcement: Simple butt-jointed corners can rack over time as soil settles and shifts. Corner brackets or a simple lap joint keeps the frame square for years.
- Lining with the wrong material: Landscape fabric on the bottom (not sides) helps control weeds while still allowing drainage — solid plastic on the bottom traps water and drowns roots.
- Not accounting for soil settling: Soil compacts and settles over a season. Plan to top off beds with fresh compost each year rather than assuming the fill level stays constant.
A Garden Built on a Solid Foundation
Raised garden beds built from proper raised garden bed plans pay for themselves within a season or two — better yields, easier maintenance, and a garden that looks intentional rather than improvised. Start with the standard single-layer bed if this is your first build; it’s fast, forgiving, and teaches the basics that carry over to every larger outdoor project.
If you’d like more detailed plans covering bed variations, corner joinery options, and complete material lists, Ted’s Woodworking includes several raised bed designs alongside its full project library.